- Topic1/3
27k Popularity
32k Popularity
29k Popularity
54k Popularity
21k Popularity
- Pin
- 📢 Gate Square #Creator Campaign Phase 2# is officially live!
Join the ZKWASM event series, share your insights, and win a share of 4,000 $ZKWASM!
As a pioneer in zk-based public chains, ZKWASM is now being prominently promoted on the Gate platform!
Three major campaigns are launching simultaneously: Launchpool subscription, CandyDrop airdrop, and Alpha exclusive trading — don’t miss out!
🎨 Campaign 1: Post on Gate Square and win content rewards
📅 Time: July 25, 22:00 – July 29, 22:00 (UTC+8)
📌 How to participate:
Post original content (at least 100 words) on Gate Square related to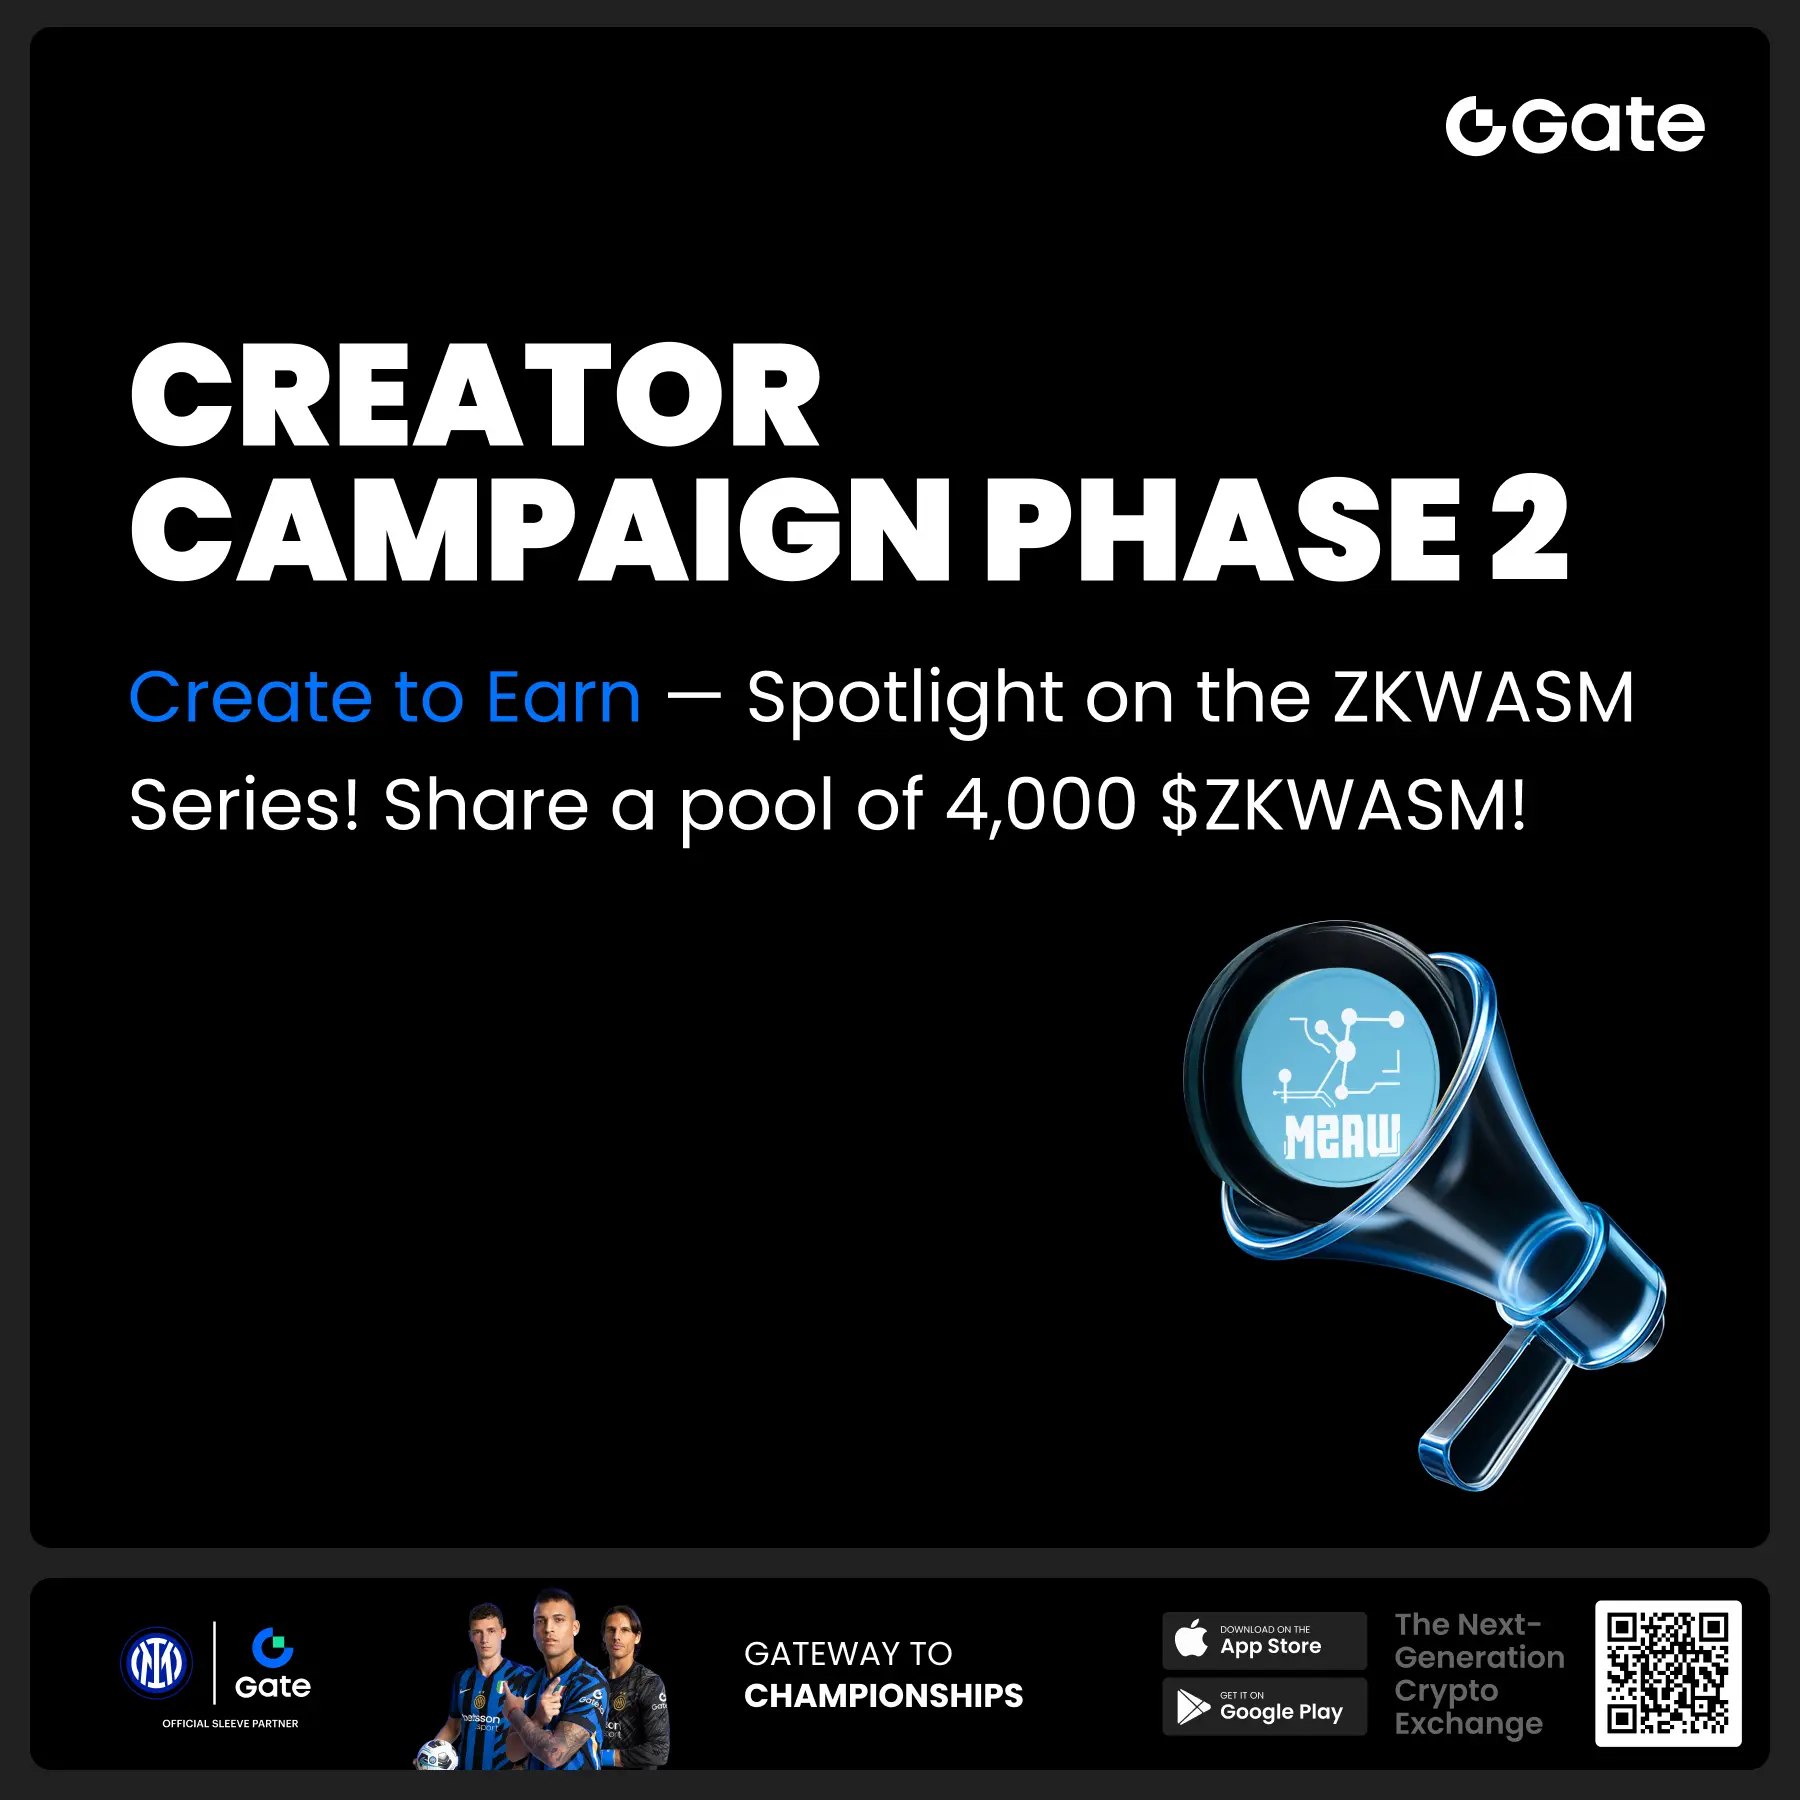
- 📢 Gate Square #MBG Posting Challenge# is Live— Post for MBG Rewards!
Want a share of 1,000 MBG? Get involved now—show your insights and real participation to become an MBG promoter!
💰 20 top posts will each win 50 MBG!
How to Participate:
1️⃣ Research the MBG project
Share your in-depth views on MBG’s fundamentals, community governance, development goals, and tokenomics, etc.
2️⃣ Join and share your real experience
Take part in MBG activities (CandyDrop, Launchpool, or spot trading), and post your screenshots, earnings, or step-by-step tutorials. Content can include profits, beginner-friendl
- 🎉 Gate Square’s "Spark Program" Surpasses 1,000 KOLs!
💥 The creator ecosystem is in full bloom!
📈 Get featured, earn rewards, and grow your influence—what are you waiting for?
💰 Cash incentives ✔️
🚀 Traffic support ✔️
👑 Exclusive verification ✔️
From 0 to 1,000 in just weeks—Gate Square is becoming the epicenter of Web3 content! ⚡
You’re not just posting content, but the next "viral opportunity"!
🌟 Join the Spark Program and kickstart your breakthrough!
👉 https://www.gate.com/announcements/article/45695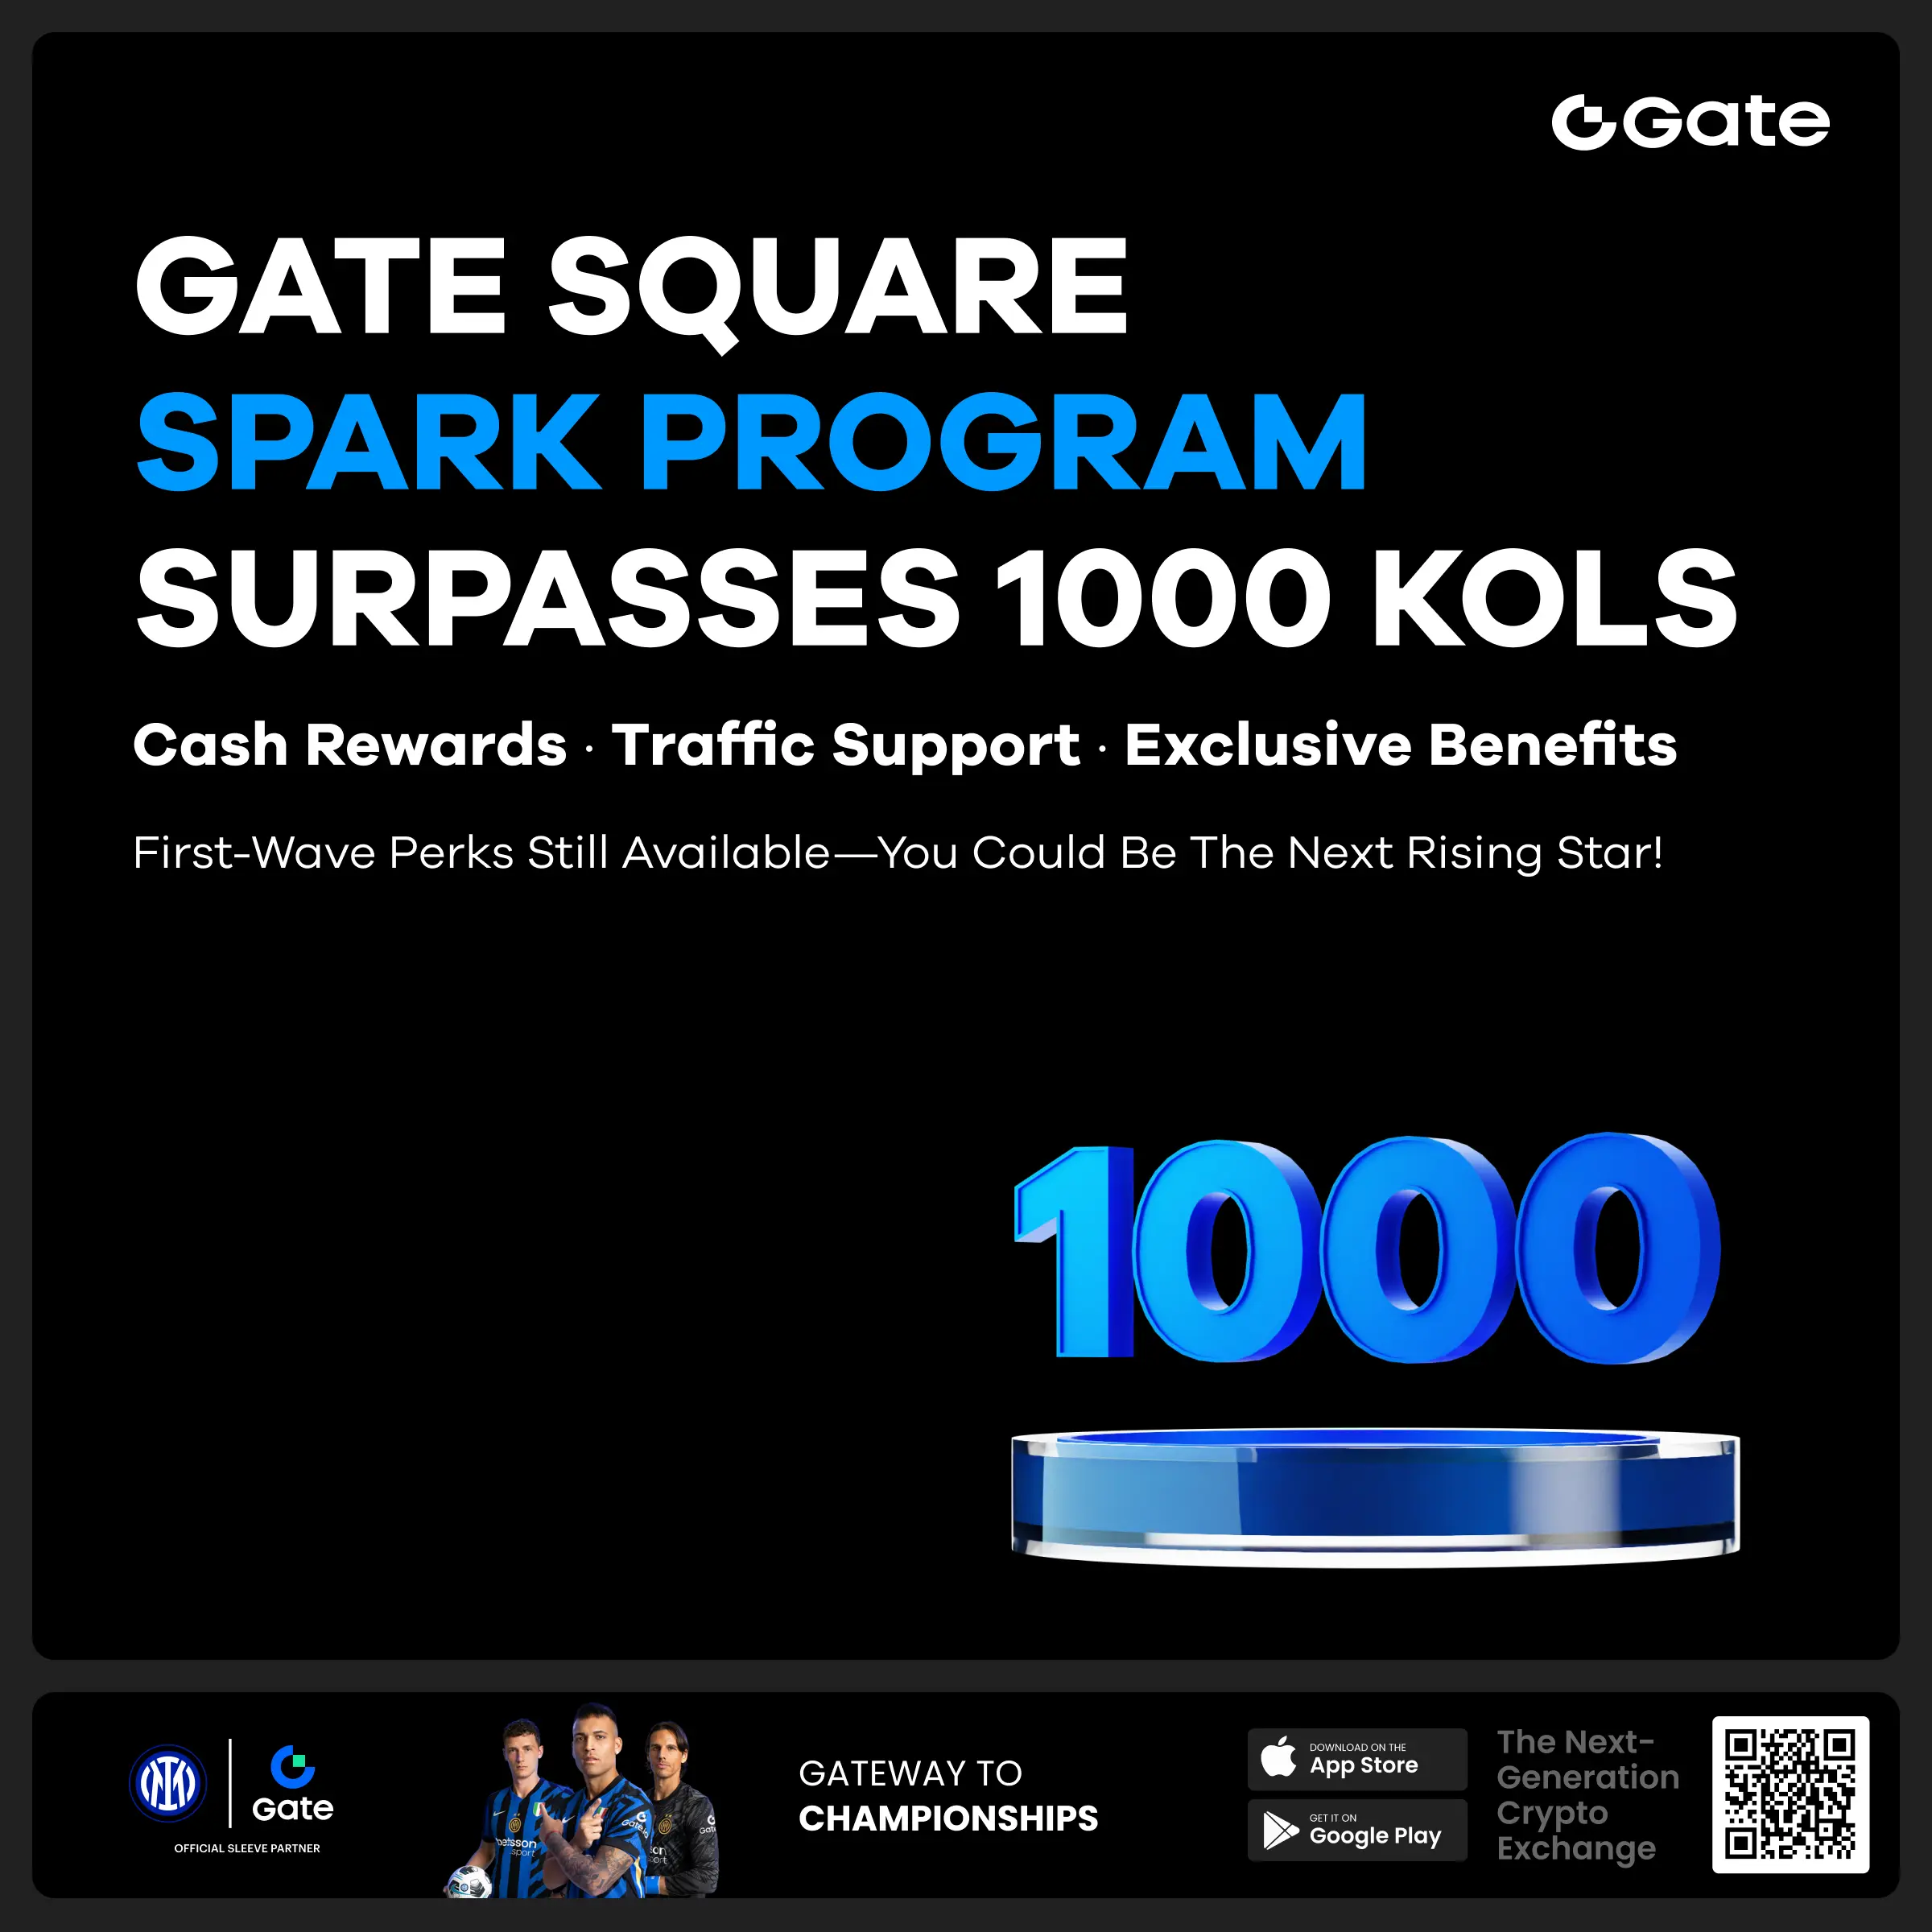
Complete Guide to Directly Interacting with Ethereum Smart Contracts Using Blockchain Explorer
A tutorial on directly interacting with smart contracts using the Ethereum blockchain explorer
This article will introduce how to directly interact with smart contracts using the Ethereum blockchain explorer Etherscan, without relying on any decentralized application (DAPP). This method allows users to operate more securely in an unfamiliar software environment.
Preparation Work
Before you begin, please ensure that you have:
Operating Steps
1. Scientific Internet Access
First, start your scientific Internet access tool. When you can smoothly access Google search, it indicates that the scientific Internet access has successfully connected.
2. Target Smart Contracts
Open the Etherscan blockchain explorer and find the smart contract address you want to interact with. This tutorial uses the NEST 3.0 version of the QP Token deposit contract as an example to demonstrate how to retrieve QP Token.
3. Connect Web3 Wallet
On the contract page:
4. Find the target method
Scroll through the contract interface to find the method you need to call. In this example, we will use the "takeOut" method to retrieve the tokens.
5. Interact with smart contracts
Under the "takeOut" method:
First input box: Enter the amount of QP Token to be withdrawn. You need to add 18 zeros after the amount. For example:
Second input box: Enter the token contract address to be withdrawn. For example:
Click the "Write" button to initiate the transaction.
Click "View your transaction" to check the transaction status and wait for the transaction to be confirmed.
By this method, you can securely interact directly with Ethereum smart contracts without using any third-party DAPPs or importing private keys into unfamiliar software. This approach increases the security of operations while also providing users with a deeper understanding of blockchain interactions.
Please note that before performing any operations, it is essential to carefully verify the contract address and input parameters to ensure the accuracy and security of the transaction. If you are uncertain about certain steps, it is recommended to try them on a test network first or seek the assistance of experienced blockchain professionals.